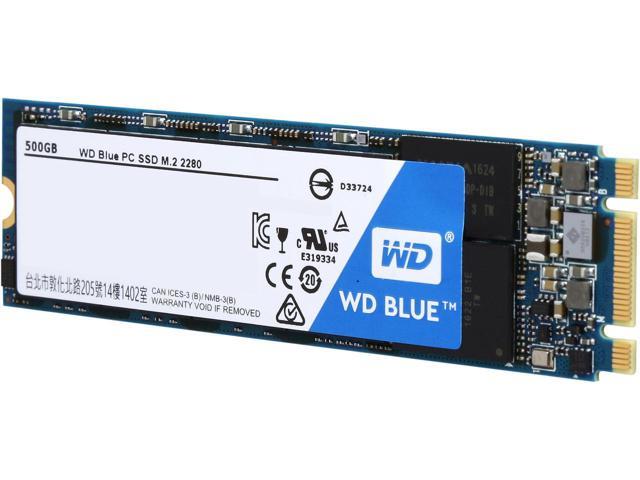
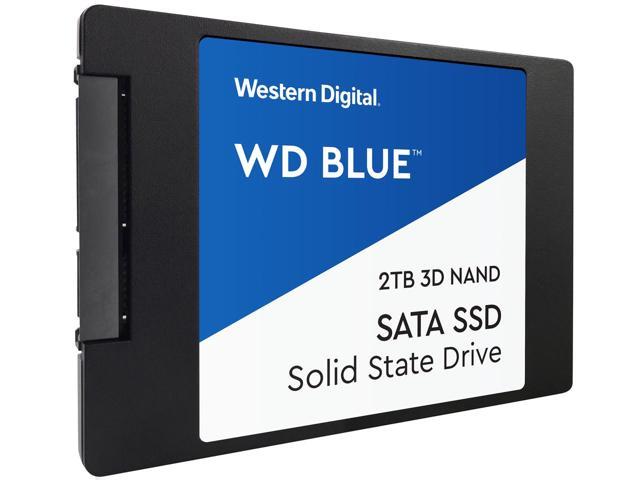
Strong State Drives have been readily available for a several years now, and also use a significant benefit in terms of rate of access compared to standard hard disks.
Mounting Windows 7 Operating System on an SSD can boost launch times markedly, but it is necessary to understand that the means SSDs job is different to conventional hard disk drives.
In this article, I will certainly be using several suggestions to optimize your SSD with Windows 7.
So, what is the difference in between a Solid State Drive as well as a standard one?
SSDs employ similar innovation to that located in flash sd card such as those discovered in Digital Cameras and camcorders. They have no relocating parts, have fast gain access to times and also the information saved on them is ‘non unpredictable’. This suggests that data is saved permanently even when the power is turned off.
Conventional hard disk drives on the other hand, are essentially mechanical tools using rotating circular platters which retain your data magnetically, the information being accessed by a regularly relocating information arm-a bit like a document gamer( for those of you old adequate to bear in mind what one of those is)!
A modern standard hard disk has actually a checked out rate of regarding 106MB/s as well as an accessibility time of regarding 12ms. Compare that to around 270MB/s as well as 0.08 ms for a Solid State Drive, and also you can see just how much quicker an SSD can be in accessing your data!
Installing Windows 7 on an SSD needs a different strategy to disk monitoring than that of utilizing a traditional disk.
Information that is marked for deletion on a standard disk, isn’t erased at all-it’s simply marked as being readily available for overwriting. Information on an SSD is separated into ‘web pages’. These web pages are organized right into ‘blocks’, which include a number of pages. Know more awesome insights about ssd’s by clicking on this link: http://foundersguide.com/upgrade-and-replace-ssd/.
Although SSDs can review as well as compose web pages, they can only remove whole blocks. On a drive that is well made use of, there will certainly be lots of ‘unclean’ blocks where some pages are utilized, and others are offered for overwriting. The drive requires first of all to duplicate all the pages with data within a block into cache, remove the block, then revise the information back. This can at some point cause a deterioration in performance.
Windows 7 supports a TRIM command, which gets rid of unclean blocks, by getting rid of those that contain files that have been deleted, as well as rewriting the valid information when the remove command is gotten.
Make sure you establish your storage arrangement mode to AHCI in the BIOS which enables all the SATA features to function appropriately prior to you install Windows 7 on your SSD to enhance performance. Intel’s Toolbox application will certainly after that allow you to run TRIM manually.
It is additionally important to install the appropriate SATA controllers to get the most effective performance.Download the most up to date variation of the Intel Rapid Storage Technology chauffeurs from the Intel internet site if you’re utilizing an Intel controller.
SSDs make use of idle time to carry out housekeeping tasks, cleaning up any type of dirty information so it is very important that Windows doesn’t switch off your drive after a specified time period. To inspect this, most likely to Control Panel, System and also Protection, Power Options, ‘change strategy settings’ in the balanced profile, click ‘change innovative power setups’, increase the ‘Hard Disk’ and also make sure ‘Shut off Hard Disk after’ is set to ‘Never ever’.
A few various other setups to check are:
Check that Disk Defragmentation is switched off – This can weaken the efficiency of the SSD if switched on. Right click on the SSD in the ‘Computer system’ menu as well as choose ‘homes’, then ‘devices’ and ‘Defragment Now’. From here, you can disable defragmentation, as well as any type of schedules.
Drive indexing should additionally be shut off, appropriate click drive, ‘residential properties’ under the ‘General’ tab.
Disable ‘Super Fetch’, best click ‘Computer system’, ‘Handle’, ‘Services and Applications’, ‘Providers’, ‘Superfetch’ established ‘Startup type’ to ‘Handicapped’.
Lastly, check out the SSD Tweak Energy from OCZ’s SSD forum. This will allow you to perform these adjustments from just one food selection.
With rates of SSDs dropping, now might just be the time to supercharge your next Windows 7 installment!